In this exercise you will learn to merge parts of photos using masking and a little color correction. You take a series of photos from the same camera position, while only the subject moves to a different position each time. Then you merge all these photos into one image. And the subject? That’s you!
Time: 2 hours
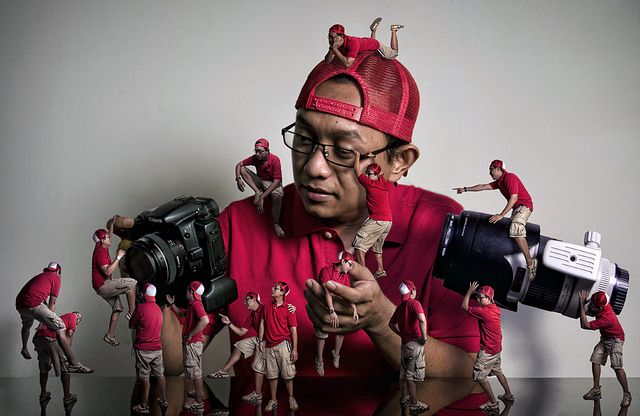
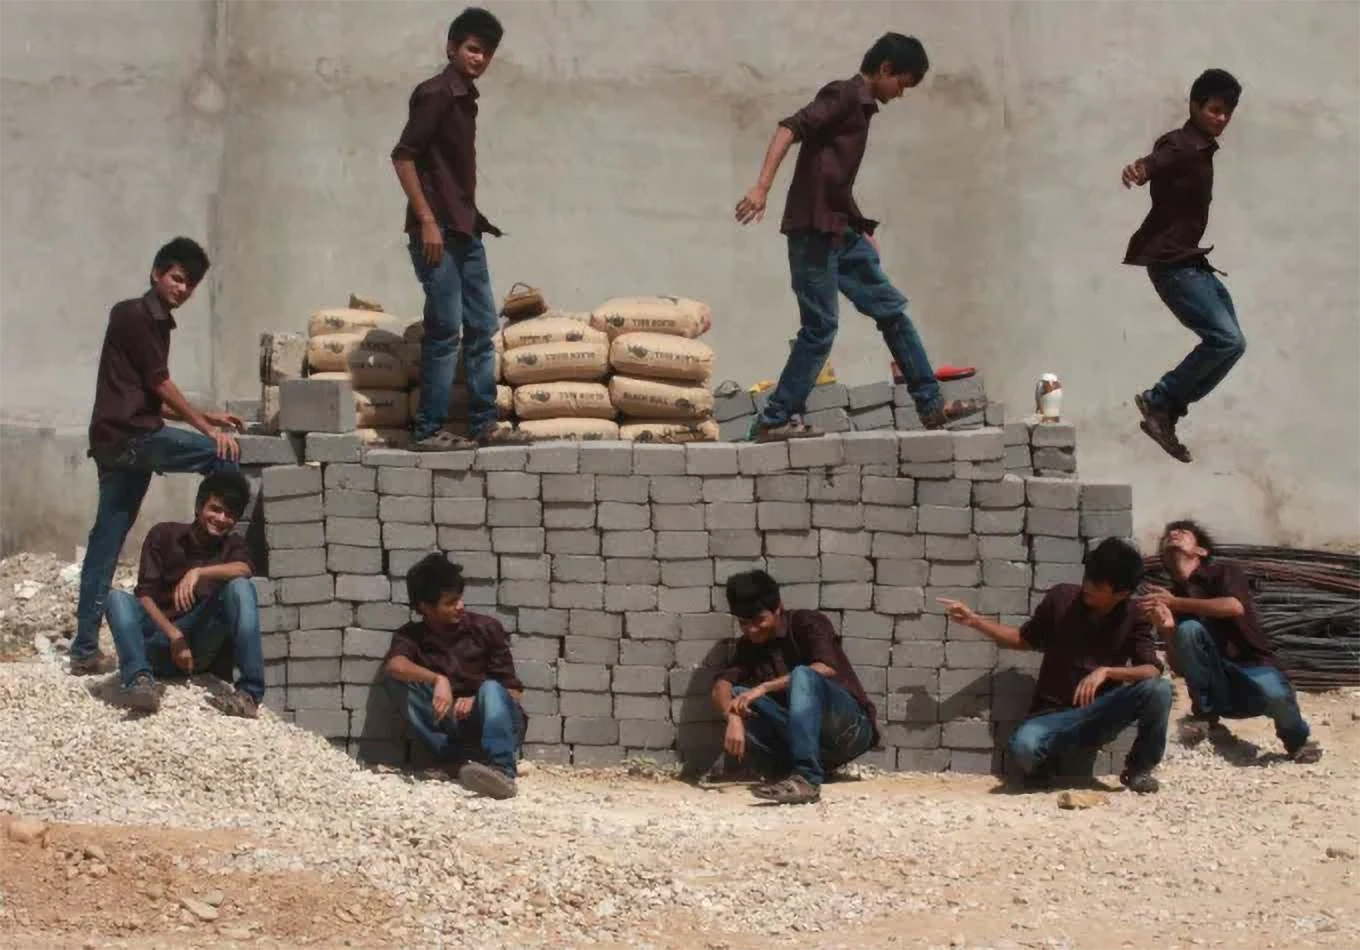
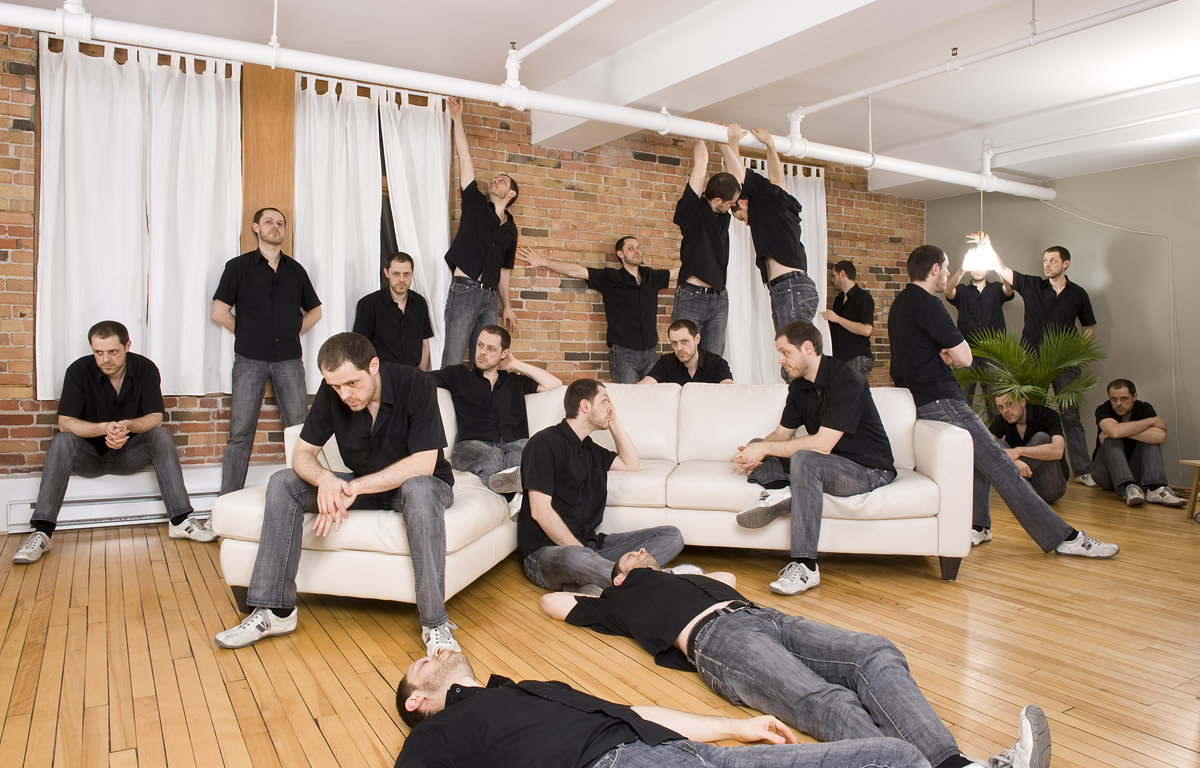
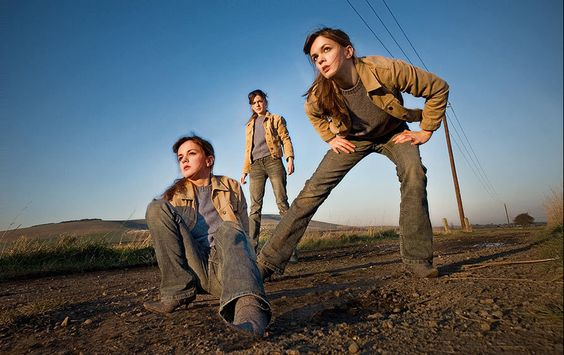
You will create an image of yourself in multiple positions. Below you can see some inspiring examples:


Step 1
Use the examples to come up with a nice idea for a photo. Your idea meets the following requirements:
- You appear in the image at least 5 times.
- You interact with yourself (for example, you give something to yourself, or you take something away from yourself, or you hold hands, or you hug yourself, or you push yourself over, or…)
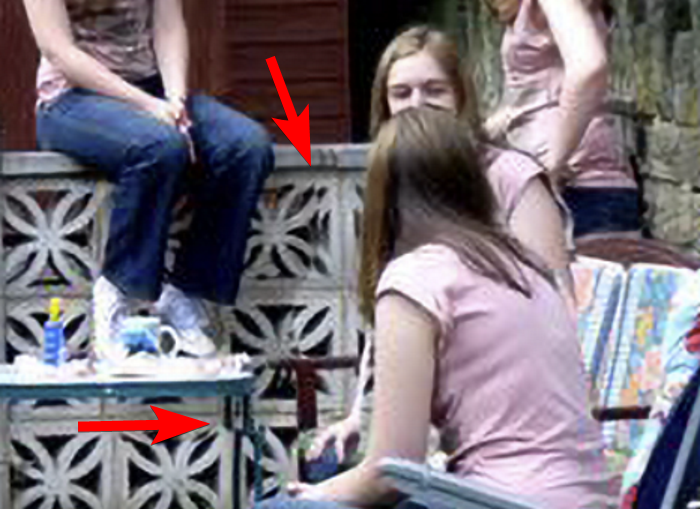
- In your composition there will be at least one time where you overlap yourself a little (as in the example below).
- Work in groups of two. One takes pictures of the other.
- Find a suitable location (indoor or outdoor) and determine the camera position.
- Keep the camera as steady as possible (preferably with a tripod) when taking the photos.
Tip: support your camera on a chair or bench. - After the first photo you take a new pose, after the second photo you take a new pose, etc.
Tip : also take an ’empty’ photo, without a person in it, as a reference. - When you have photographed at least 5 poses, it is the other person’s turn. Find another location for the next photo series.
- When you have done all this, come back to class.
Step 2
- Download the photos from your mobile to your laptop.
- Now open all files into layers automatically by choosing File > Scripts > Load Files Into Stack. Click Browse to select your images and click OK.
- Now cut the figure from the background in each layer using a mask. Make sure you keep as much of the figure’s shadows on the floors and walls as possible.
- If necessary, change the order of the layers to place people in front of or behind each other.

Please note : there is a good chance that if you have worked without a tripod, there will be small differences in the position of the camera. Try to hide this as much as possible by masking tightly.
You may also have small color and/or contrast differences between each photo. Use an Adjustment layer for Contrast or for Hue/Saturation to eliminate these differences.

TIP : You can view the mask by Option/Alt clicking on the mask thumbnail.
TIP : You can make an Adjustment Layer work on only the layer below it by selecting the layer and then clicking this button in the Properties panel.
