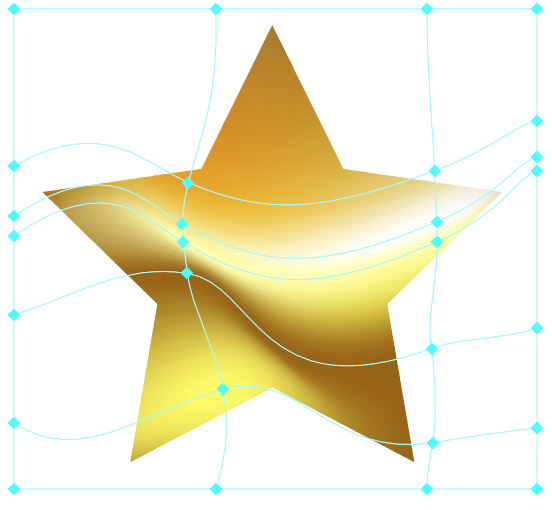
With the Gradient Tool you can choose from 3 types of gradients: Linear, Radial or Freeform. But what if none of these offer you a solution? Then you can think of merging multiple gradients. Or maybe a Gradient Mesh is the solution.
Merge multiple gradients
Here you have to think of stacking different fills , as layers, within one shape. So each fill can contain its own gradient. You can then set these layers to a ‘blend mode’, as you may know from Photoshop. This is all done in the Appearance panel.
The Mesh Tool
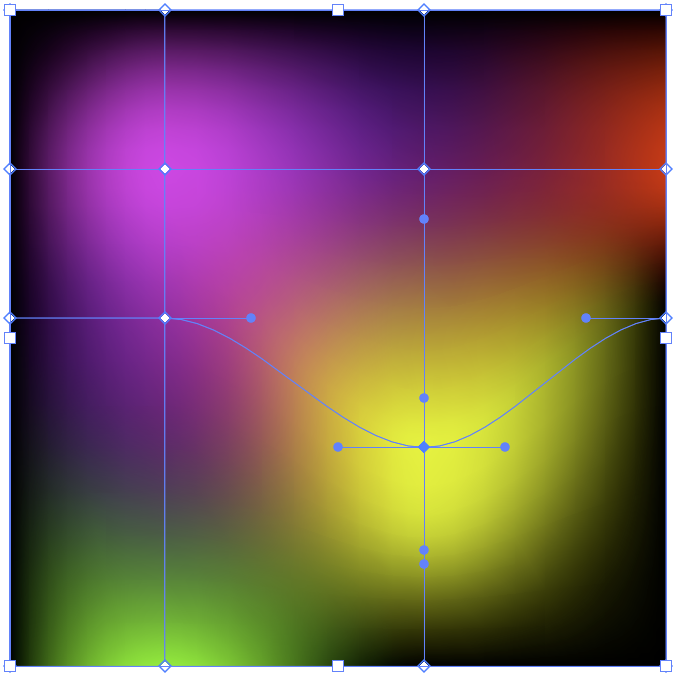
With the Mesh Objects ( Mesh ) Tool you can turn a shape into a mesh, a kind of ‘net’, so to speak. You can give the nodes of the net a color and then a gradient is created between the nodes.
We are going to practice creating one object with multiple fills. In the example on the right you see an object with three fills on top of each other: the blue background (linear), the sun (radial), and on top you find the ground (linear).
- Download the Training Gradients In Depth and open it in Illustrator.
- Do exercise 1.
- If necessary, watch the video “Gradients in Illustrator” (dutch, english subtitles) from 2:55 to 6:45.
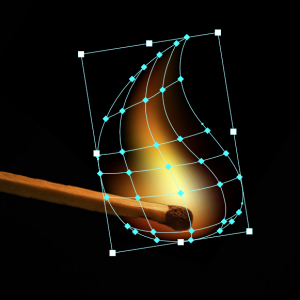
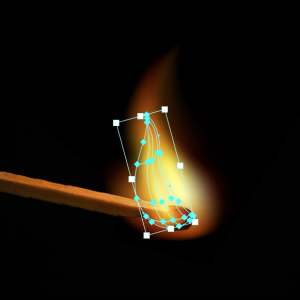
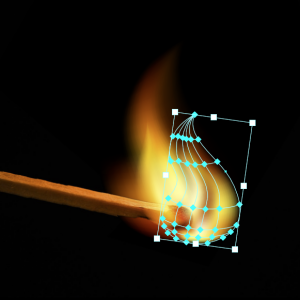
We are going to practice with the Mesh Tool. We draw flames on a picture of a match. The match has been cut loose so that we can draw flames in front and behind it. We use a blend mode to make the front layers blend nicely with the layers below.
- Continue working in the Training Gradient Tool Floor file you downloaded in exercise 1.
- Make this exercise 2.
- If necessary, watch the video “Gradients in Illustrator” (en) from 6:45 to 13:30.
Voorbeeld van de opbouw van vlammen met de Mesh Tool:
Bekijk de onderstaande video:
Watch the video below:
6:45-13:30 – Capabilities and limitations of the Mesh Tool (dutch, english subtitles):
At the end of the video “Gradients in Illustrator” (from 13:30-17:19) it is explained that the mesh tool does not always work properly. Some shapes give a difficult mesh that is not easy to control. For example, a star shape (see example) gives sharp corners in your Mesh that cannot be removed.
In these cases you can use a clipping mask with a Mesh behind it. This gives you more control over the mesh and you can also change the shape of the clipping mask without affecting the mesh.
You create a Clipping Mask by selecting two or more shapes and then right-click > Clipping Mask. The back shape(s) is now masked by the front shape (everything inside the front shape is visible). See also Adobe Help: Edit Clipping Mask .
- Continue working in the Training Gradient Tool Floor file you downloaded in exercise 1.
- Make this exercise 3.
- If necessary, watch the video Gradients in Illustrator (see Theory).
- Adobe Help: Gradients
- Adobe Help: Edit Clipping Mask
The video below explains in Dutch, with English subtitles:
- 0:00-2:55 – Operation of the Gradient Tool and Panel Gradient
- 2:55-6:45 – Stacking Gradients with Panel Appearance
- 6:45-13:30 – Features and limitations of the Mesh Tool
- 13:30-17:19 – Capabilities and limitations of type Freeform Gradient
The basics about Gradients are explained in this video:

