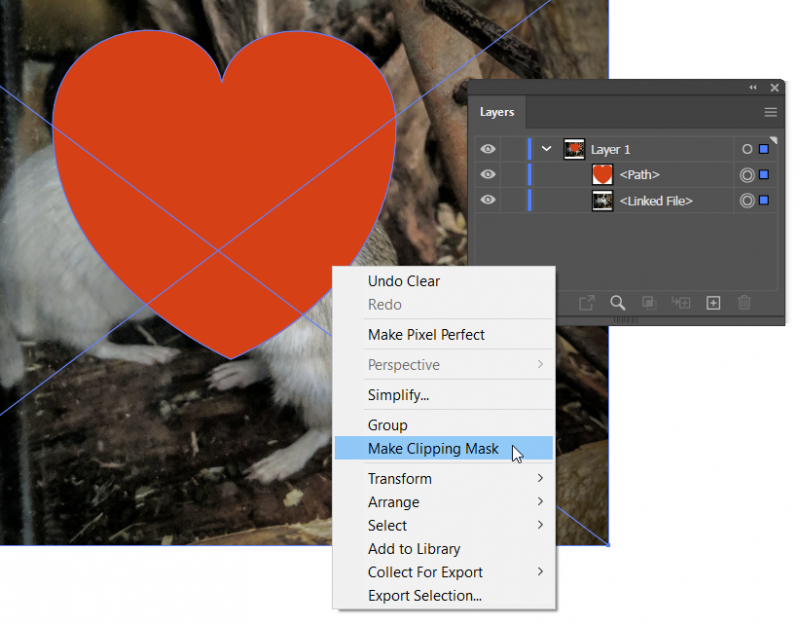
The terms Clipping Path and Clipping Mask are used interchangeably and mean more or less the same thing. This is a shape (a vector) that serves as a mask and thus shows or hides other objects underneath. The outer line of this shape is called the clipping path.
In Illustrator, making a clipping mask is quite simple: you select a number of objects and right click > Make clipping mask. Illustrator now uses the top object of the selection in the Layers panel to mask all other selected objects.

A clipping mask appears as a special group of layers in the Layers panel: a Clipping Group. This means that you can still edit the different objects, since they can all still be clicked on separately. This also applies to the shape of the clipping mask itself.
But beware: there is also something like a Mask in Illustrator and it works differently. This will not be discussed further in this lesson, but take a look at the image to the right. You can see that there is no mask in the Transparency panel when the clipping group is selected.
Let’s practice creating a simple Clipping Path. You’ll make a layout/design of a number of shapes and mask them with a shape that serves as a ‘frame’.
- Download the Clipping Paths Training and do exercise 1.

You can still edit the shape that your Clipping Mask makes. You can, for example, change line width or change the background color. This background appears behind the clipped objects.

You can also use multiple shapes as clipping masks. To do this, you must first combine these shapes into a Compound Path. This is an object that behaves like one shape, but can contain multiple shapes.
By double clicking a compound path with the Selection Tool (black arrow) you enter isolation mode and you can edit individual shapes. Double click on an empty spot outside the artboard to get out of isolation mode.
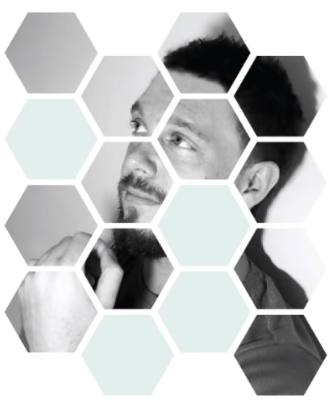
- Continue with the Clipping Paths Training you downloaded in exercise 1 and do exercise 2.
- If necessary, watch the video “3 Illustrator Clipping Mask Uses You NEED TO KNOW” from about 3’00 minutes onwards.
Note: You can skip the Pathfinder > Unite step (around 3’45”).
In this exercise you have to choose a photo of yourself to use as the background. Please note that this photo is embedded and not linked . If the photo is linked to the location of the file on your computer, the link will break when you submit the exercise. Select a photo and click the Embed or Embed button (located somewhere at the top of the screen) to add the photo to the Illustrator file.

You can also use text as Clipping Path. It would be a disadvantage if you first have to convert the text to a vector shape, because then the text can no longer be edited as text.
We therefore use a different technique of using text as a Clipping Mask while it remains editable.
- Continue with the Clipping Paths Training you downloaded in exercise 1 and do exercise 3.

The easiest way is to use the different drawing modes in Illustrator. You will find this at the bottom of the toolbar. In older versions it used to be three buttons next to each other, now it’s one button.
Copy your background image to memory (CMD-C) and set the drawing mode to Inside. Select your text and paste (CMD-D). Now your background is clipped by the text, while you can still edit the text.
