Editing an image to correct small mistakes or make improvements to light and color is called retouching. Photoshop offers a couple of tools for retouching that can make your life easier.
Time: 60 minutes
How to do this exercise
This exercise will introduce you to 9 different tools for editing (retouching) images.
- Start by downloading this file and open it in Photoshop.
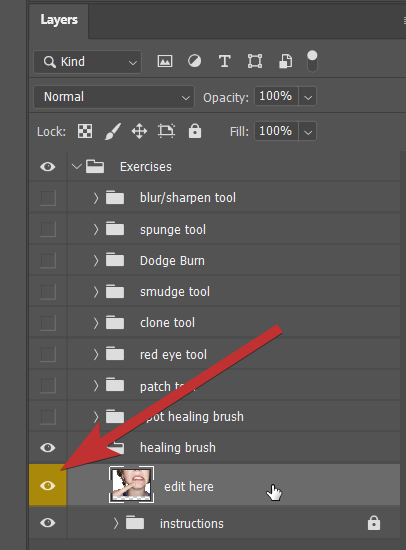
- Open up the Layers palette.
You can see the groups of layers as shown in the image to the right. Open a group by clicking the > symbol. Click the eye symbol to show or hide these groups. Work from bottom to top. Select the layers marked in yellow to edit the images.
- Complete the tasks given with the suggested tool.
Tip: If you can’t find the tool, use the find function in the top right of the interface to search for the name of the tool. - When you have finished all the edits, save the file as a PSD and hand it in.
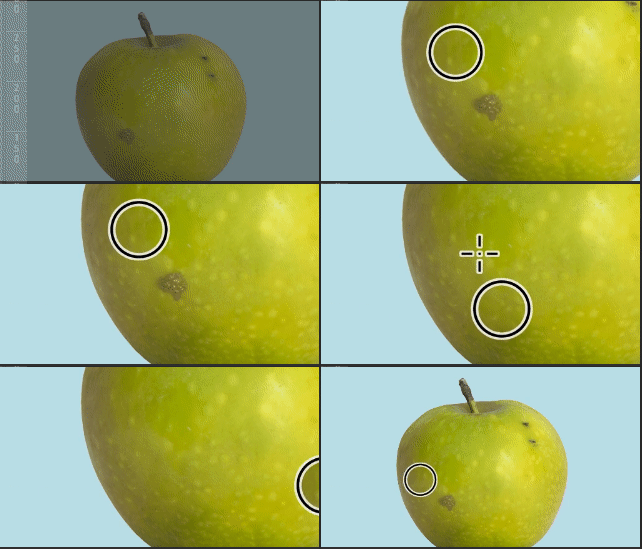
This brush works by first setting a source for the brush’s ‘texture’. The brush will then draw from this source. It copies texture while adjusting its color and contrast to fit the area you are covering (or ‘healing’).
- Define a source to draw from by holding Option/Alt and clicking somewhere in the image.
- Draw over the pimple to remove it.
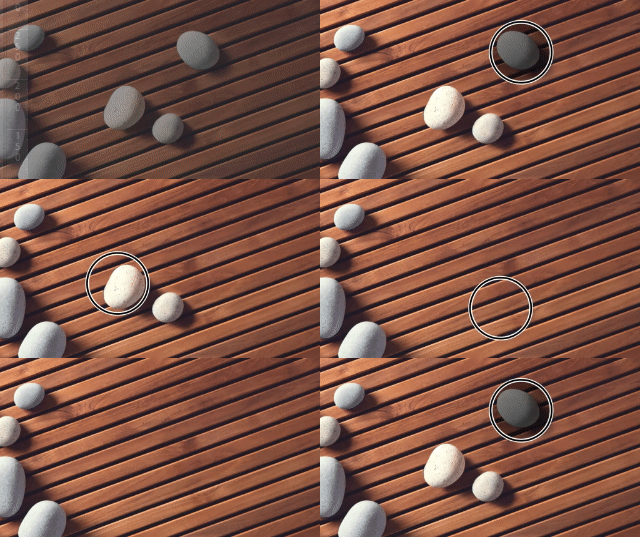
This brush uses an algorythm to analyze the edge of the area drawn and determine what is background/texture and what is an anomaly (object, spot or dust) and then removes it.
- Set the brush size to be a bit bigger then the spots on the skin.
- Click on each individual spot to remove it. Avoid dragging (or drawing) too much as this will give you lesser results.
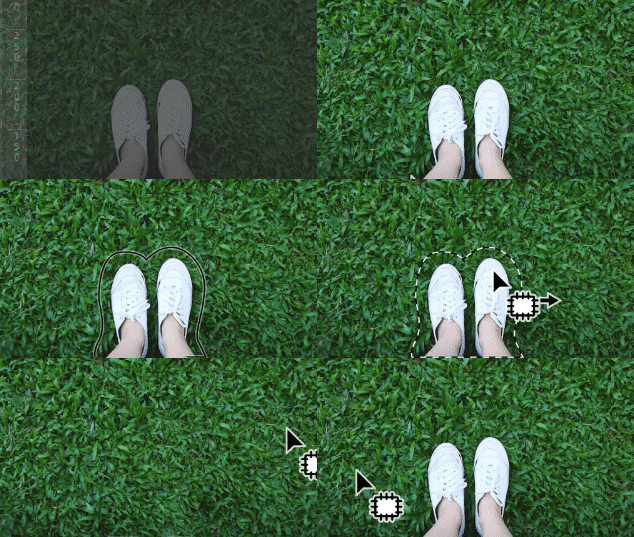
This tool lets you draw a selection, and then you can fill this selection with another part of the image. Photoshop blends the edges and color to match.
- Draw a selection around the footsteps with the Patch Tool.
- Drag the selection into a new sandy area to remove the footsteps.
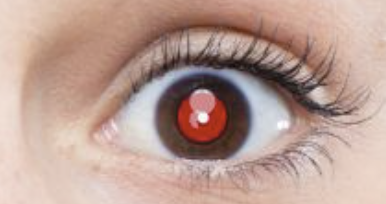
This tool removes the red eye effect that can occur with flash photography. All it needs is point and click and Photoshop will do the rest.
- Set the pupil size: this is the size of the pupil relative to the iris. The default (50%) works fine in most cases.
- If you want a deep black, increase the Darken Amount value. The default (50%) works fine in most cases.
- Now just click on each of the red eyes with the Red Eye Tool and they should be fixed automagically.
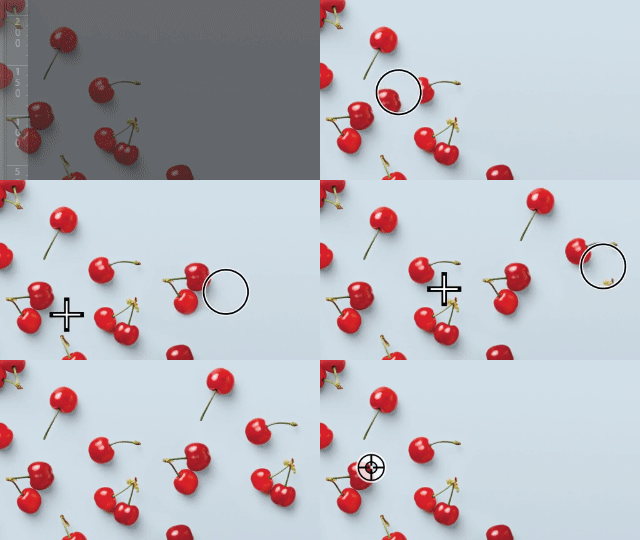
This tool allows you to ‘load’ an image in your brush and draw with it. As a source you can click any point in any layer. The tool then copies this part of the image to wherever you start to draw.
- Select the Clone Tool and set your brush size to about the size of the head of the guy on the right.
- Hold Option/Alt and click any point in the ocean to copy from. Make sure the texture fits with where you want to apply it.
- Use the tool to copy parts of the water over the guy on the left, in order to remove him completely.
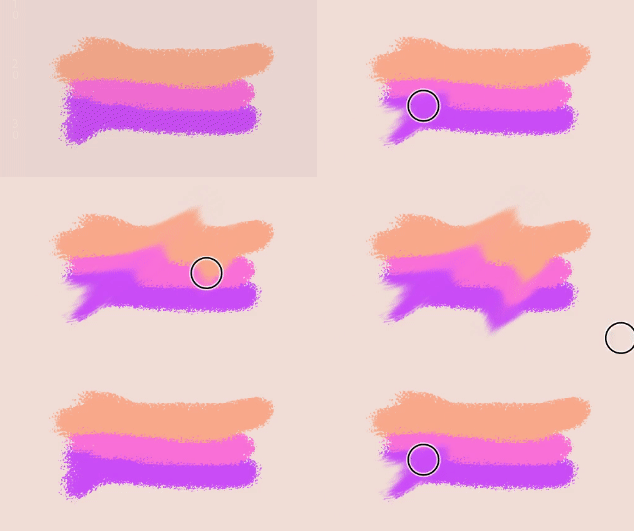
With this tool you can smear pixels in the direction of the brush. Use the Strength and Brush Size options to set its size. You can add color by checking the Finger Painting option. Different Modes enable coloring options.
- Set the Mode to “Hue”, the strength to 100% and check Finger Painting. The brush now is flowing with the hue set in the foreground color.
- Make the hair a purple color.
Note how the white background is not being colored. White pixels don’t have any saturation to show their hue.
With the Dodge and Burn Tools you can respectively lighten or darken an area of the image. You can set a range of brightness that you want to be affected: Shadows, Midtones or Highlights.
- Select the Dodge Tool and set the size to about the eyelids of the monkey.
- Set the Range to Shadows and Exposure to 25%.
- Draw in the darkest areas to increase the overall brightness. Build up your strokes.
- Select the Burn Tool and set the size twice as big as the previous brush.
- Set the Range to Highlights and Exposure to 25%.
- Draw over the lightest areas (brows and nose) to darken them. Build up your strokes.
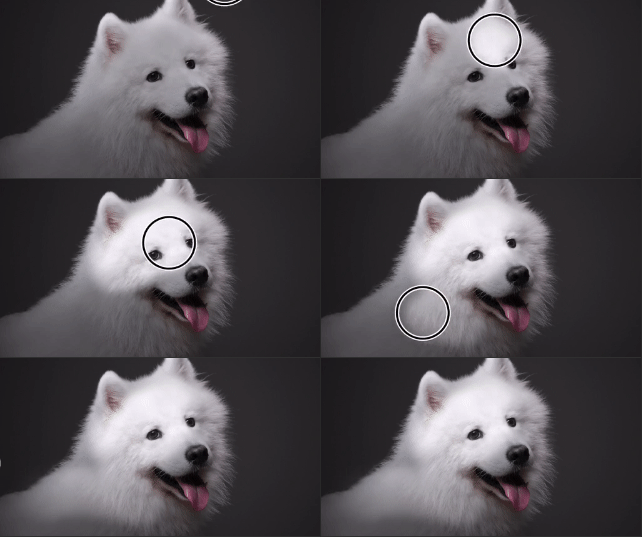
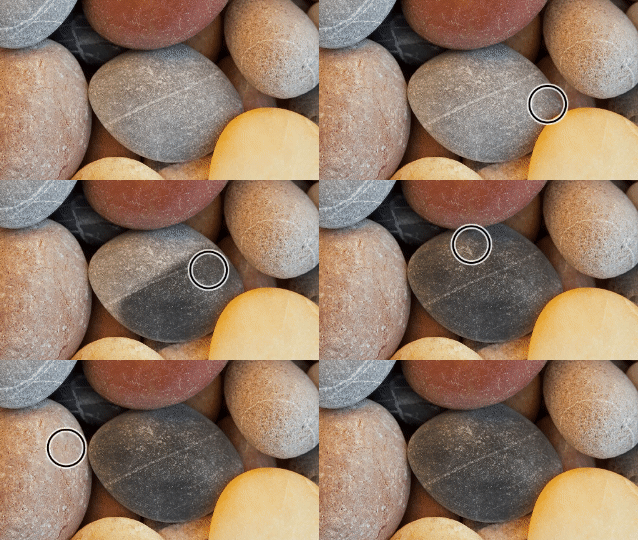
Note how it is hard to use the burn tool on pure white areas: it will introduce lots of flat greytones.
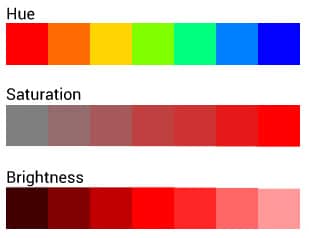
The Sponge Tool is simply used to increase or decrease the level of saturation of an area of an image. Saturation can be described as the amount of color, ranging from grey/white/black to colourful.
- Select the Sponge Tool and set the Mode to Saturate.
- Set the brush size to around the size of her eyelid
- Set the flow to 10%
- Draw over her eyeshadow to increase the colour saturation. Build up your strokes.
Note how it’s easy to overdo it! 🙂 Use this brush too harshly and it will create flat areas of colour that are very difficult (if not impossible) to repair.
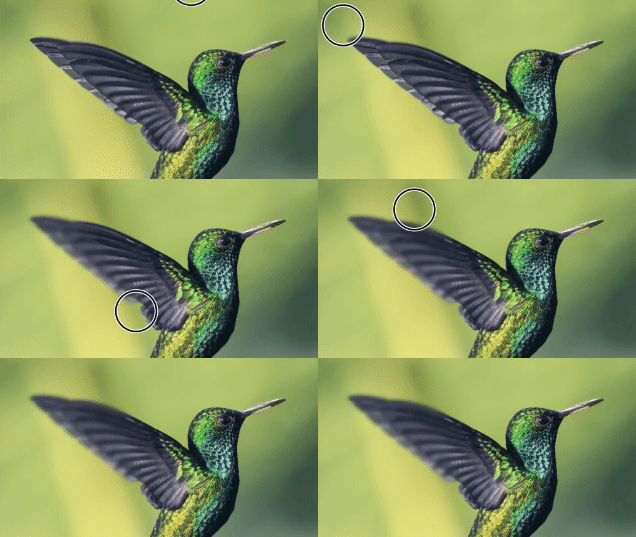
The Blur Tool will create softer contrasts and blend colours together, in effect blurring an area. The Sharpen Tool will increase contrast between pixels.
- Select the Blur Tool and set its Strength to 100% and size to half the dog’s face.
- Blur the fence behind the dog. Hold down the mouse to build up the blurriness.
- Select the Sharpen Tool and set its Strenth to 100% and size to half the dog’s face.
- Increase the Sharpness of the fur to make it richer in contrast (make it look crispy, not radioactive).
Note how the Blur Tool won’t blur beyond a certain blurriness. Also note that the Sharpen Tool doesn’t un-blur. It can’t be used to repair the focus on a photograph that is out of focus.
