Often photographs contain small specks from dust or scratches on the camera lens. These can be easily removed with Photoshop. This process (editing the original image to alter its appearance) is called ‘retouching’.
Time: 15 minutes
First
- Download the images and extract the ZIP to your computer.
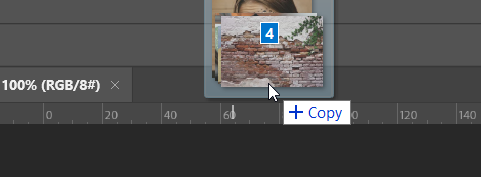
- Open the images by choosing File > Open and selecting all four images.
Alternatively, drag the images from your Finder/Explorer next to a tab of a document that is already opened in Photoshop.
Tools used:

Clone Stamp Tool
This tool ‘draws’ like a pen, copying content from the active layer. Select the layer you want to copy from, then hold down Alt and click to select a source point from which you want to start copying. Release Alt and draw.

(Spot) Healing brush
This tool ‘draws’ like a pen, copying content from the active layer. Select the layer you want to copy from, then hold down Alt and click to select a source point from which you want to start copying. Release Alt and draw.

Patch Tool
This tool ‘draws’ like a pen, copying content from the active layer. Select the layer you want to copy from, then hold down Alt and click to select a source point from which you want to start copying. Release Alt and draw.
Image 1
Check out the image of tourists in Egypt. We’re going to remove the people in the background with the Patch Tool. We’ll also remove the two shadows in the left- and right-bottom corner.
- First make a copy of the original photo in a new layer with CMD/Ctrl-J.
- Work in the copy to preserve the original.
- Choose the Patch Tool (J)
- Draw a selection around the girl on the left.
- Drag the contents of your selection to another part of the image. Let go when it looks good.
Important : drag to a spot with the same texture! - Repeat this for the other people and the shadows in the bottom corners.
- Save the retouched image as a JPG and submit it.
Fun to try: do this again but now use the new “Remove Tool” (AI)
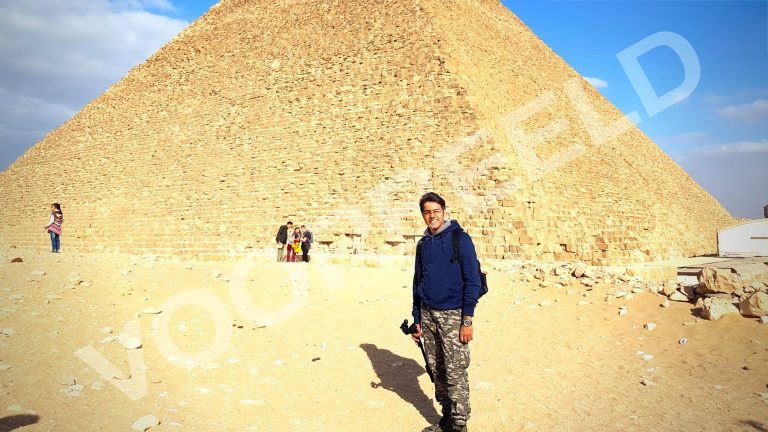
Image 2
Check out the image of the Flemish Kimberley who regretted her tattoo. Use the Spot Healing Brush to remove the stars.
- First make a copy of the original photo in a new layer with CMD/Ctrl-J.
- Work in the copy to preserve the original.
- Choose the Spot Healing Brush (S)
- Use the brackets [ ] to set the size to slightly larger than a single star.
- Click once to remove the star. Reset the size each time to fit snugly around a star.
Important : look carefully at the color of the skin and try to avoid spots! If you still get spots in the skin, try the regular Healing Brush (use Option/Alt-click to choose a source for the color). Avoid drawing (= click-drag) with this tool. - Repeat this for all the stars.
- Save the retouched image as a JPG and submit it.
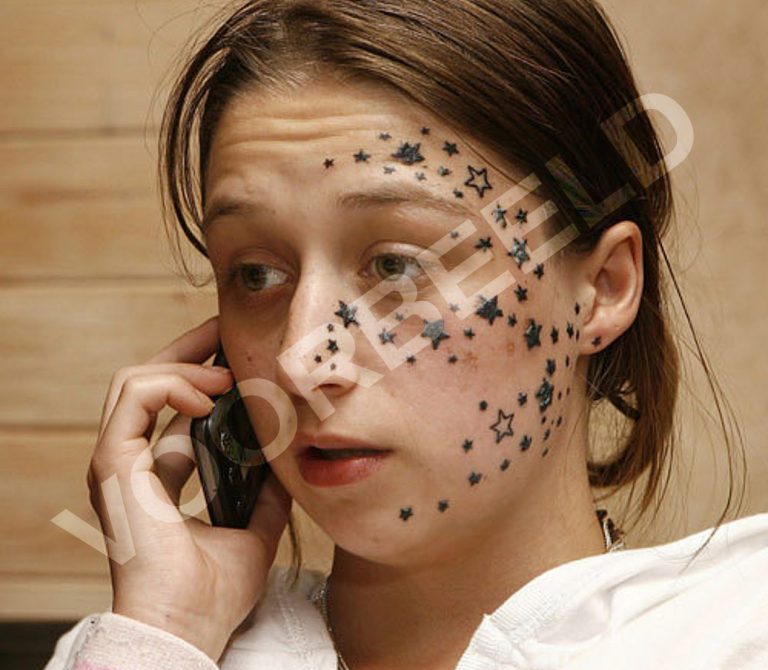
Image 3
Check out the image of the guitar player. This is full of scratches and specks. We are going to remove these with the Clone Stamp Tool.
- First make a copy of the original photo in a new layer with CMD/Ctrl-J.
- Work in the copy to preserve the original.
- Choose the Clone Stamp Tool (S)
- Use the brackets [ ] to set the size to slightly larger than a spot.
- Hold down Option/Alt and click anywhere to choose a source. This is the part of the photo that you load into your brush to ‘draw’ with.
Important : choose a suitable source! - Draw (=click-drag) over a spot to remove it. Do this for all the spots.
- Save the retouched photo as a JPG and submit it.
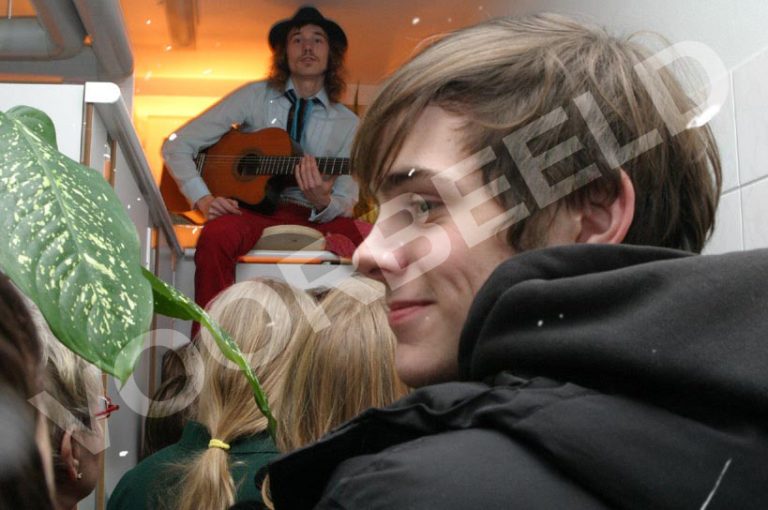
Image 4
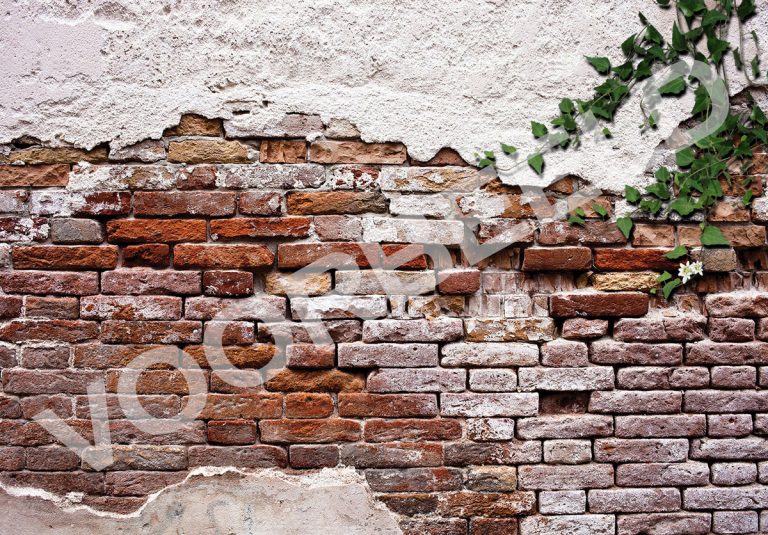
Check out the photo of the wall. We’re going to remove the plant from the wall using a combination of the tools you used earlier in this exercise.
This one is difficult and requires precision. Zoom in and work on small areas step by step. The Clone Stamp Tool works best for the bricks.
- Use the Clone Stamp Tool and Patch Tool primarily, and perhaps the (Spot) Healing Brush and the Remove Tool.
- Please note: the challenge is to create a realistic image. It may differ slightly from the original image. The closer your result is to the original wall image, the better!
- Save the retouched photo as a JPG and submit it.
