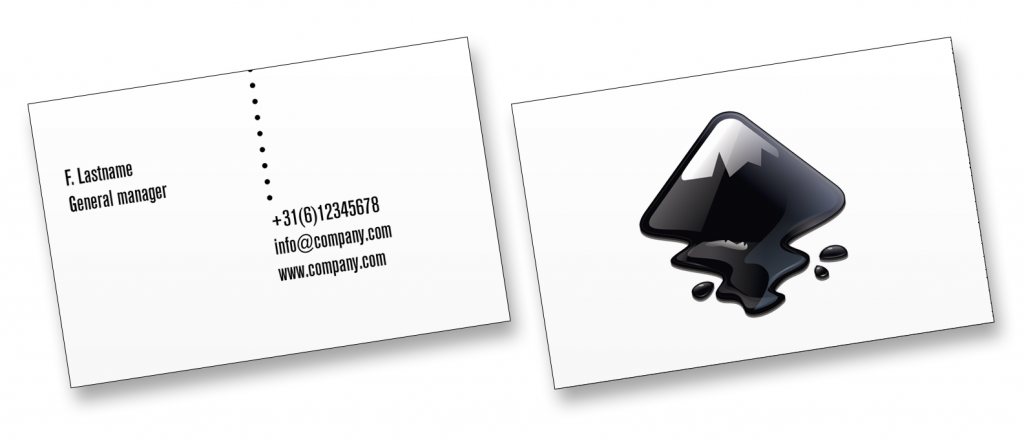
Let’s take a superquick first glance at InDesign and create a simple businesscard. You’ll place text, import a logo and export it to a press-ready PDF.
Time: 15 minutes (ok so i lied a little ;-))
First off, what information do you typically find on a business card?
- First and last name
- Title and/or function
- Contact information such as (email address, phonenumber, mail address, etc)
- Company name
- Company logo and/or slogan
Let’s start out by creating a new document (File>New>Document). Choose these settings in the dialog box:

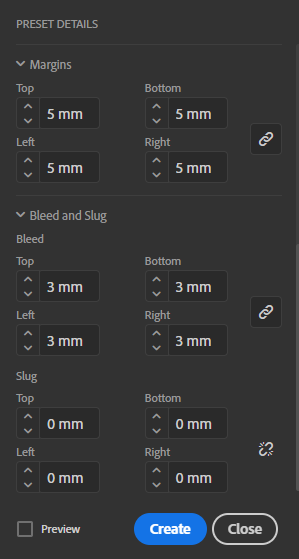
In the same dialog box open the Margins and Bleed and Slug settings and set these values:
Click Create.
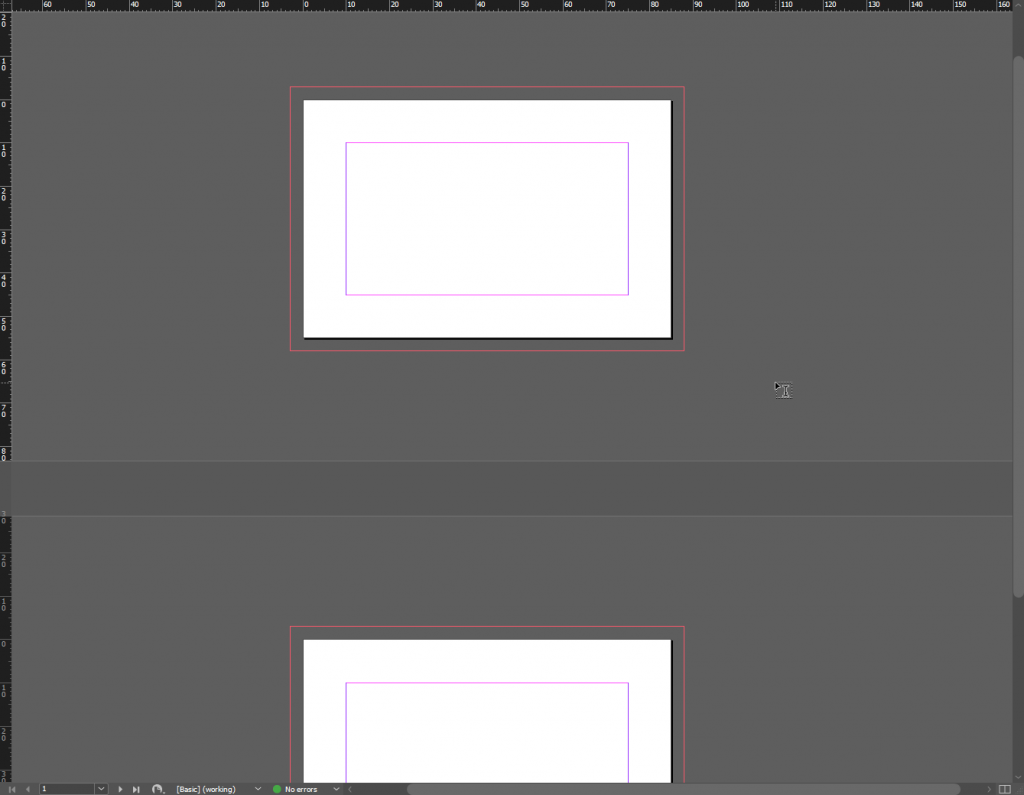
The page you now see is the first of two pages. To see the second page, zoom out using CMD-Option-Space and left click. Zoom back in in using CMD-Space and left click. You can move the work area by holding down Space and leftclick-drag.

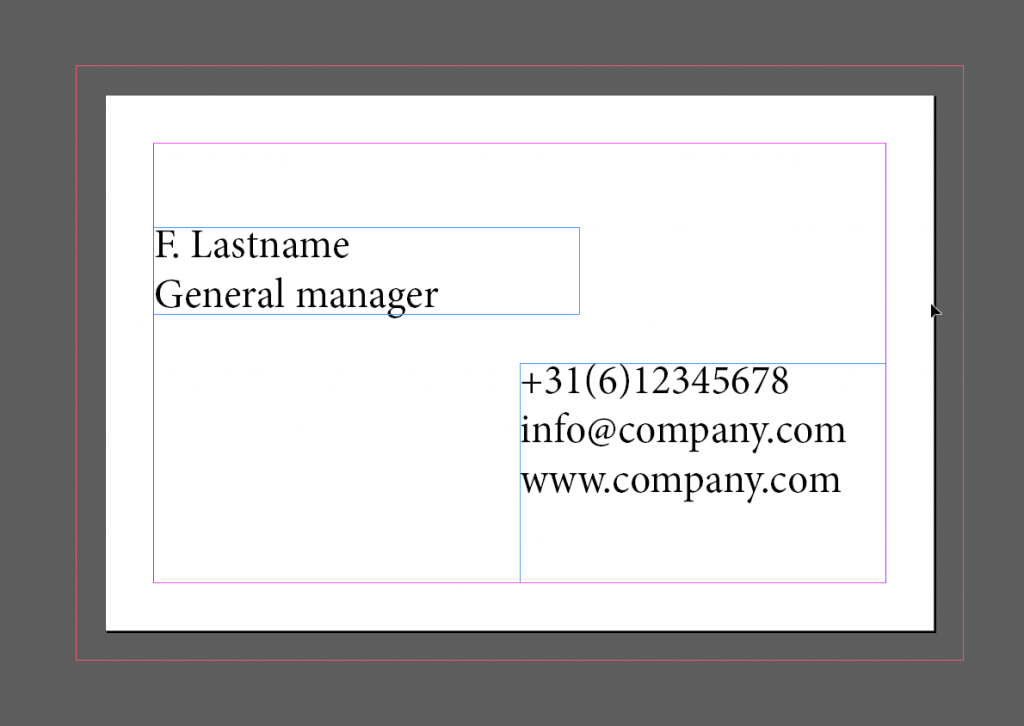
Select the Text tool. The top bar shows you controls for the text tool, such as the font-type. If you click and drag with the Text tool it creates a text frame. You can type inside this frame.

Use the Select tool to resize the frame.

Now lets add a shape to this layout. Select the Line tool.
Click and drag to start a line. Hold down Shift to snap it to 45° angles. Release the mousebutton to place the end of the line. Place it anywhere you like.
Take a look at the Tool properties (top bar) and adjust these settings to your liking.

On the second page we’ll place a logo. So first let’s head over to Worldvectorlogo and choose any logo you like. Download the SVG file.
Open the SVG in Adobe Illustrator and save it as an AI file (Adobe Illustrator Workdocument).
Move the workarea to the second page by scrolling the mousewheel. Alternatively, you can hold down CMD and leftclick-drag.

Select the Rectangle Frame tool. Leftclick-drag a frame on the page. You can edit it using the Select tool.
Make sure the frame is selected (little square anchorpoints on the corners and sides show it is selected). Press CMD-D and choose the AI file of the logo and click OK. This should place your logo inside the frame. If it seems rough around the edges, turn on View > Overprint Preview.
To resize the logo, hold down CMD-Shift while dragging the frame corners, to lock the aspect ratio (width to height ratio).
In this last step we’ll create a PDF for press. Choose File > Adobe PDF Presets > PDF/X-4. Pick a name and choose a folder to save this PDF in.
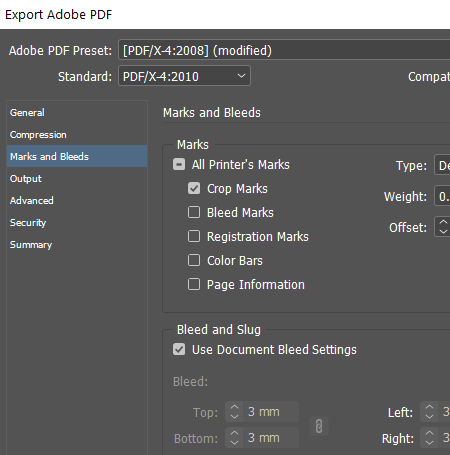
In the Export Adobe PDF dialog box, select Marks and Bleeds from the left menu. Put a check to Crop Marks and Use Document Bleed Settings. Click Export.
If the PDF does not open automatically after a few seconds, find it on your computer and open it. Be amazed with your beautiful creation!
Upload the PDF to Dropbox.
