You’re going to create a simple brochure using text and images. This exercise is a starting point, feel free to experiment with different layouts, typography, color and image manipulation options, and to explore all the features and tools in Indesign.
Time: 60 minutes
Setup
- Choose File > New and click Print. Expand “View All Presets”.
- Choose A5
- Choose Millimeters
- Set the number of pages to 4
- Check “Facing Pages”
- Set the Top, Inside and Outside Margins to 10 mm,
- Unlink these values by clicking the link icon and set the Bottom Margin to 18 mm.
- Click Create.

Preperation
In order to make the design process a bit smoother Indesign offers some handy features. We can use a Parent Page to prepare multiple pages at once:
- Choose Window > Pages to open the Pages palette. Doubleclick the A-Parent pages icon to select the Parent. Make sure you have both pages selected (use Shift to select them both). You’ll now see a spread of two pages together.
- Now choose Layout > Margins and Columns and set the number of columns to 6. Also, set the Gutter to 4 mm.
- Press OK
These columns will function as your Layout Grid or Design Grid throughout the document. Now let’s add automated page numbering:

- Still in the A-Parent, select the Type Tool and draw a textframe below the layout grid in the bottom left corner.
- Click inside it to place a cursor.
- Select Type > Insert Special Character > Markers > Current Page Number. This will put the letter ‘A’ inside it.
This symbolizes the page number of each individual page. You can style this inside the parent, and this style will be used throughout the document.
- Select the Selection Tool (black arrow) and hold down Option/Alt . Now click and drag the textframe to the bottom right corner of the spread. Hold Shift to constrain its movement horizontally.
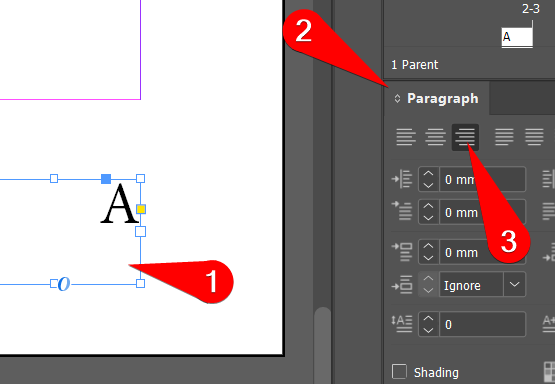
- Select Window > Type & Tables > Paragraph.
- With the bottom right textbox selected, click the Align Right icon.
Note: page numbering for a simple brochure is usually not necessary, this is included as an example.

Text
We’ll use the layout grid to design a rough version, using textrames with placeholder text and grey frames for images.
- Hold down Alt and double-click page 2 in the Pages palette. This will get you out of Parent Design and zoom to the full page.
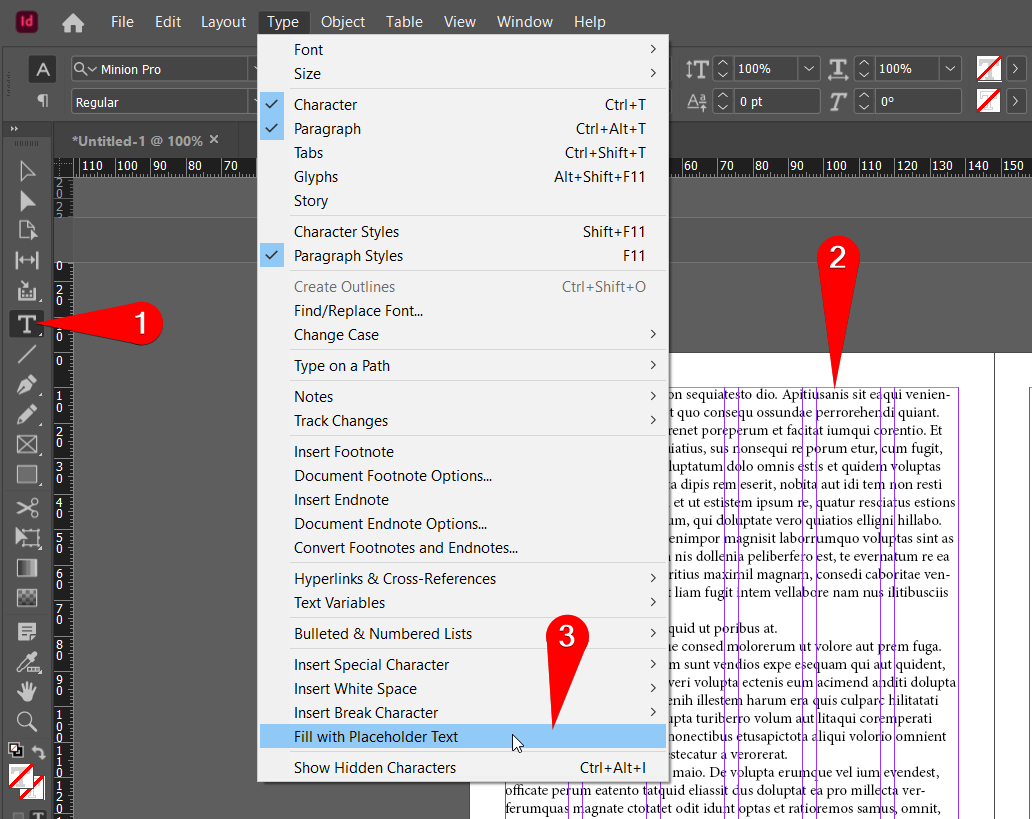
- Use the Type Tool to draw a textframe covering the full first page’s layout grid.
- Choose Type > Fill with Placeholder Text
Let’s assume this is all the text (or ‘copy’) in this brochure. We need to divide this text up into textframes, flowing from frame to frame.
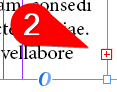
- Choose the Selection Tool (black arrow) to resize the textframe. Make it three columns wide. You’ll notice a little red ‘+’ symbol in the lower right corner of the frame. This means the frame contains more text than it can fit.
- Clicking this ‘+’ symbol will load this remaining text into the cursor.
- Now draw a new textframe. This will automatically fill with the remaining text, but might also still be ‘overflowing’.
- Repeat this process to create four textframes.
- Visualize the
These frames are now connected through so-called “Threads”. You can take a look at them by choosing View > Extras > Show Text Threads.

Image Placeholders
Let’s give the layout some places for images.
- Choose the Rectangle Tool. The Controls palette at the top of you screen shows two symbols for fill and outline color.
- Click Fill Colour and…
- choose black.
- Set the Tint to 40 (this means a 40% black = grey).

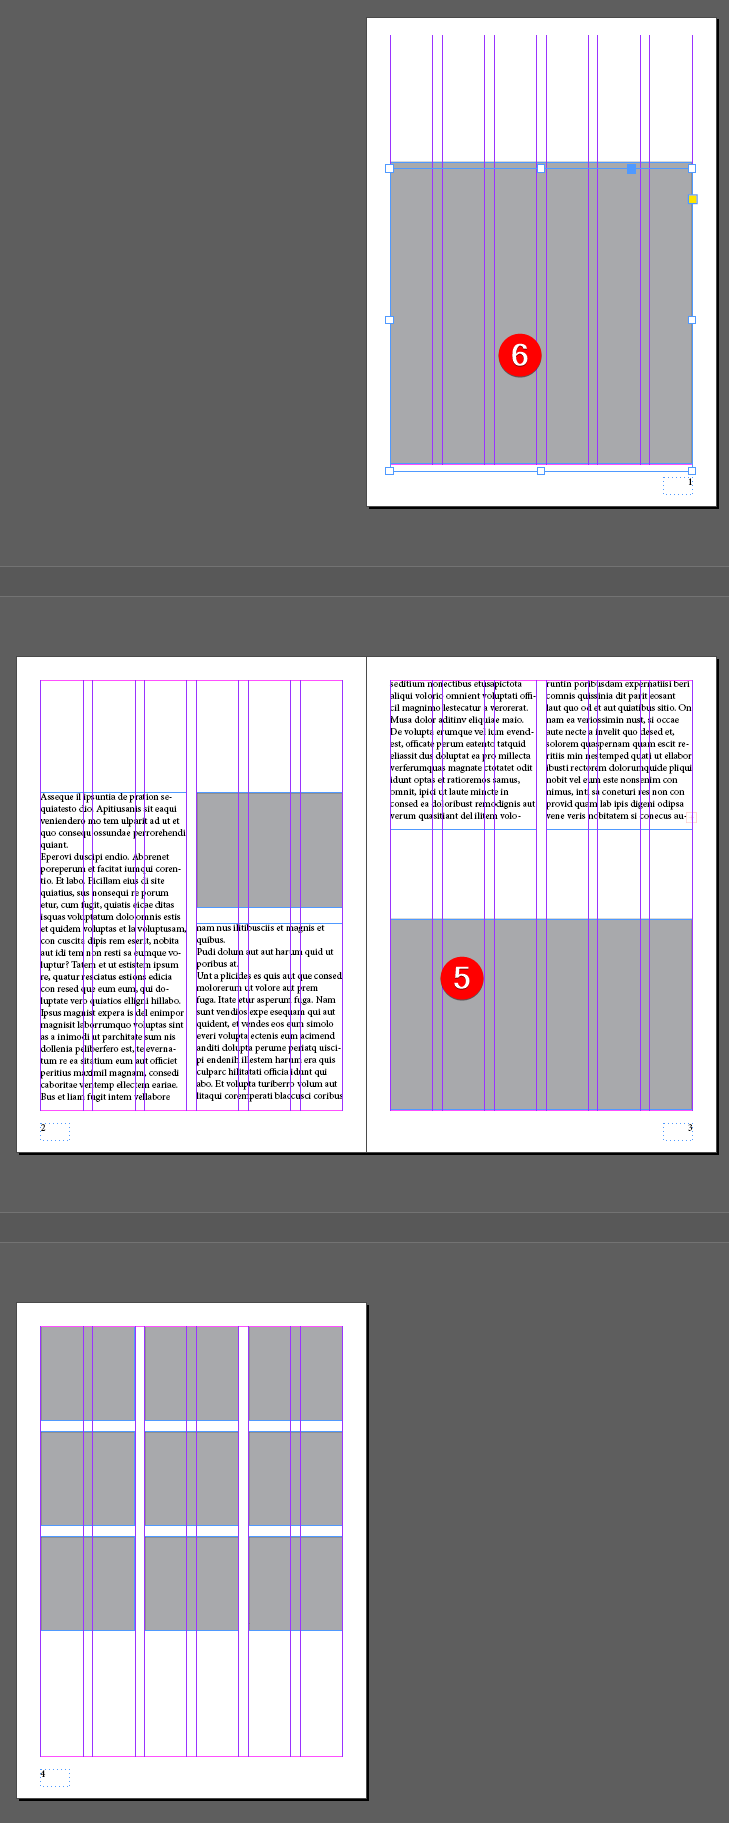
- Draw several rectangles to represent images. If you need to resize the textframes, do so, but make sure your last frame isn’t overflowing
- Do this on the front and back pages as well (page 1 and 4). Make sure to leave room in your design for some big headers on page 1 and 2. Also, leave a little ‘wiggle ‘white space’ (margin) at the end of the text. This gives you some added flexibility.
Of course, your design could look different. Perhaps you already have a purpose in mind and want to take it in a different direction. Feel free to do so.
Titles
Let’s add a title and subtitle to both the first and the second page.
- Choose the Type Tool to draw more textframes on the first and second page.
- Fill these with a nice big fat title font.
- Also, create some titles and/or dummy text on the back.
- Check if all textframes and images are aligned to the layout grid.
To toggle a design preview, deselect any text-frames (for instance by CTRL/CMD-clicking off the side of the document area) and press ‘W’.

Save your work
The Indesign document you are working in is your own work-document. This is an .indd file. This single file is not intended to be shared with colleagues or a printer.
- Choose File > Save and save the indd file to your OneDrive or other cloud storage.
To share something with a printer, export the design into pdf:
- Choose File > Adobe PDF Presets > High Quality Print
- In the option dialog that follows, leave everything as is and click OK.
Hand this PDF in through Teams. Use the .indd file you saved to continue working on this design at a later stage.
